This will show you how to remote control iOS devices with Mac computers.
Set Up iOS for Being Controlled
You have to be jailbroken for this to work. There is no way around this.
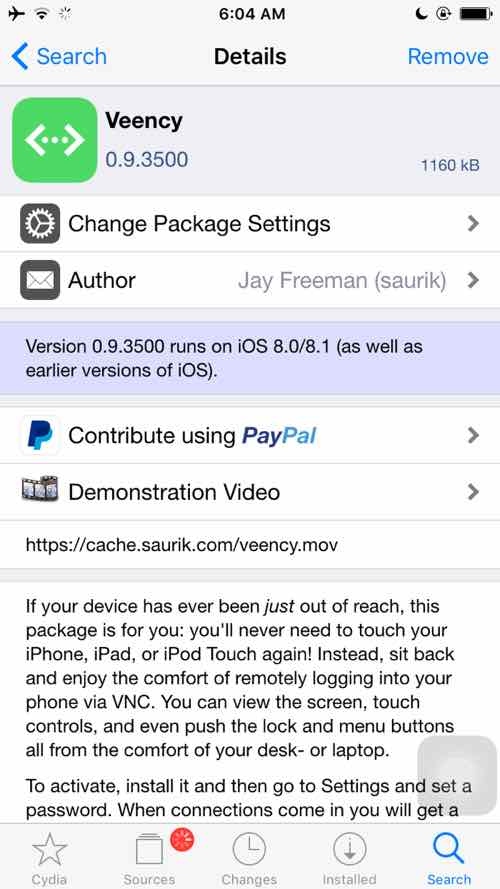
Navigate to Cydia and download the Veency package. You don’t have to add any repositories.
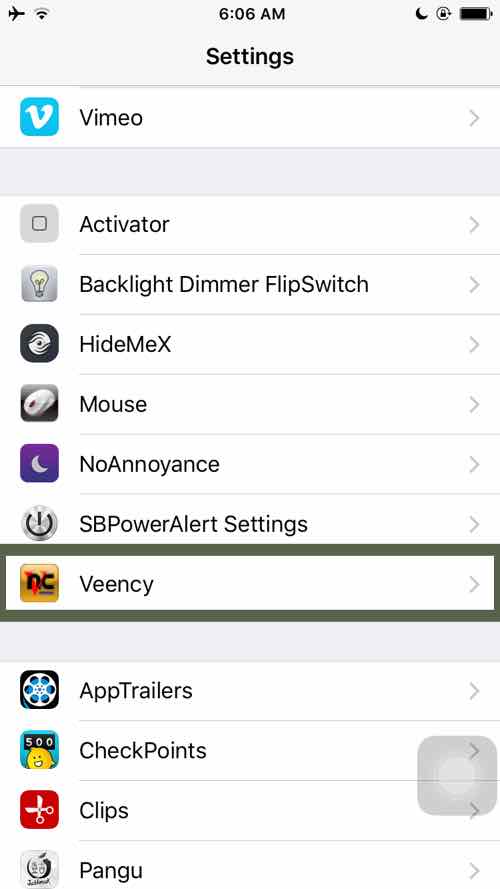
After you install it, go to Settings and scroll down until you see the preference pane. It should be with all of the other tweaks.
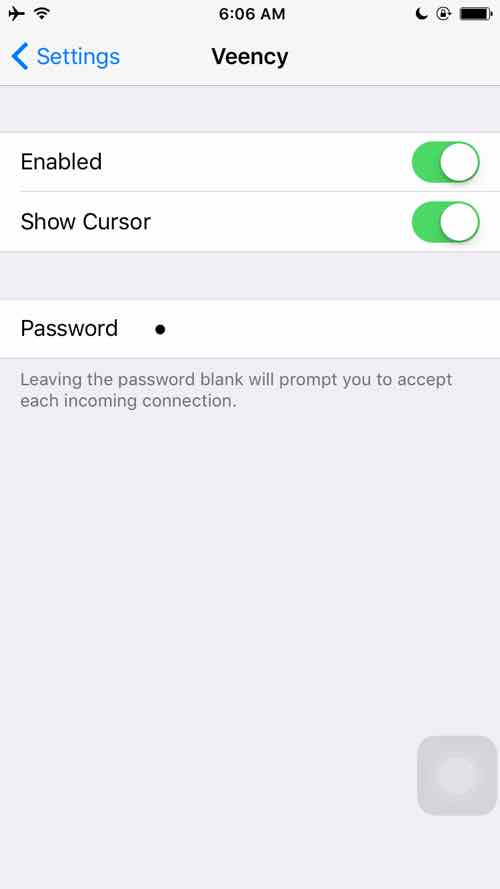
Check enabled if not already, use your personal preference for show cursor, and set a password. A password is needed to connect to this iOS device unattended. I just use “1” for my password.
Go back in your Settings to WiFi and click the information icon on the network you are connected to.
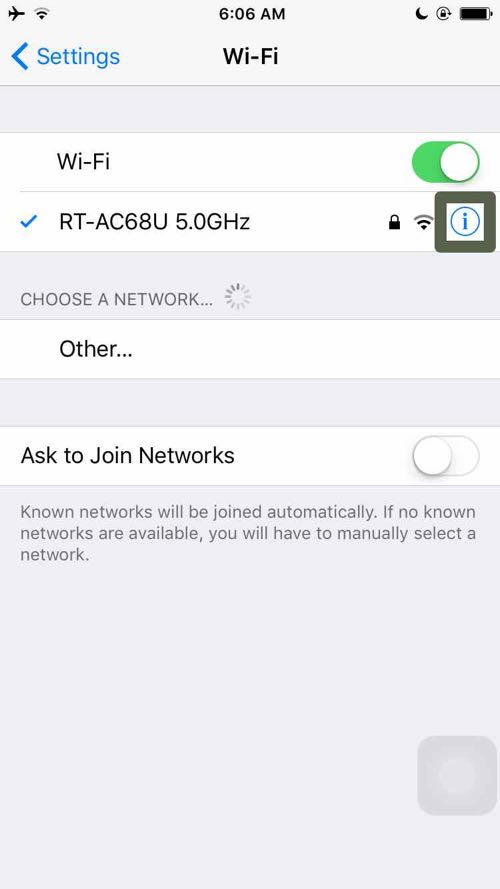
Make note of your IP address. This will be important for connecting to the device next via a VNC viewer.
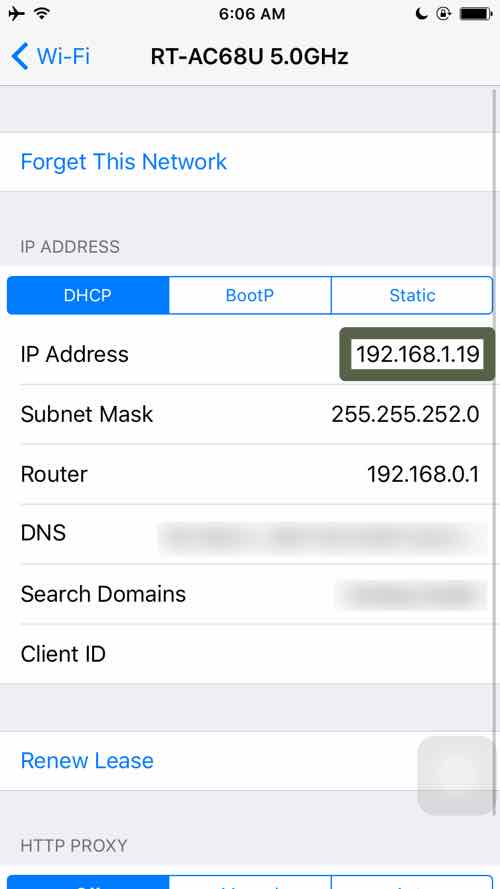
This is device number 19, so its IP ends in 19 per my naming system. To make this IP static, you will have to research how to do DHCP reservations or static IP within your router. Every router is different.
Demo
Set Up Mac for Controlling
Make sure your Mac is on the same network as the device you are controlling – more on connecting outside the network below.
Download RealVNC Viewer for Mac here.
Once installed and opened, configure the preferences. Go to your toolbar and navigate to preferences for VNC Viewer:
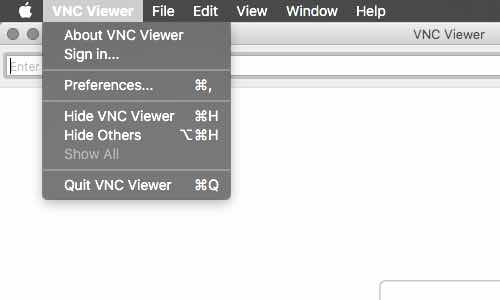
Go to the expert tab.
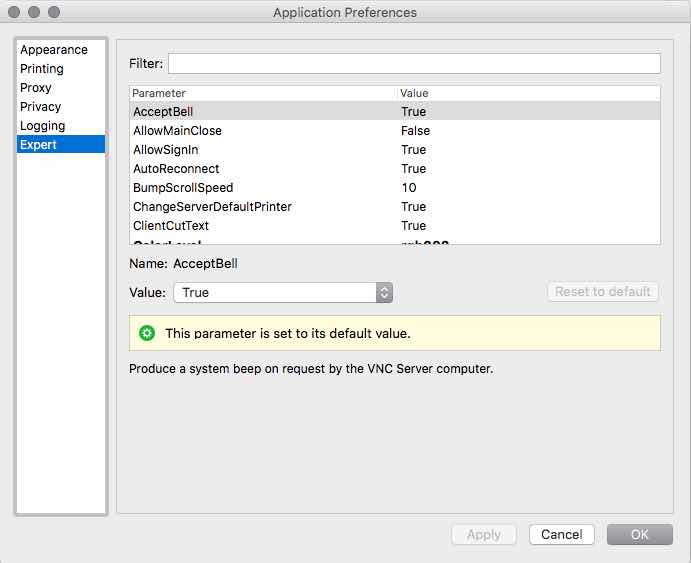
Search or find ColorLevel and set to rgb222 for a balance between speed and visibility:
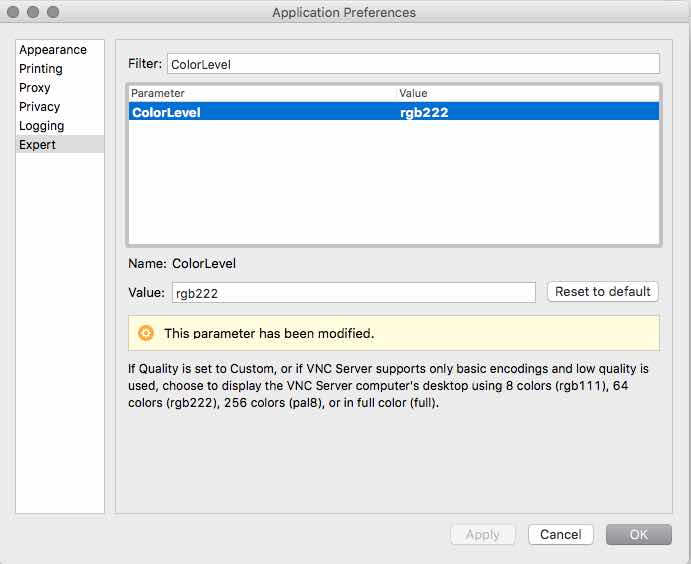
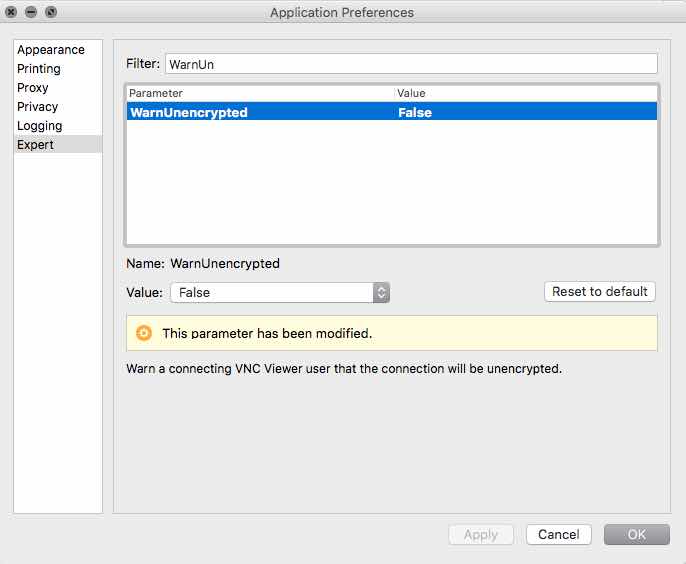
Search WarnUnencrypted and set to false.
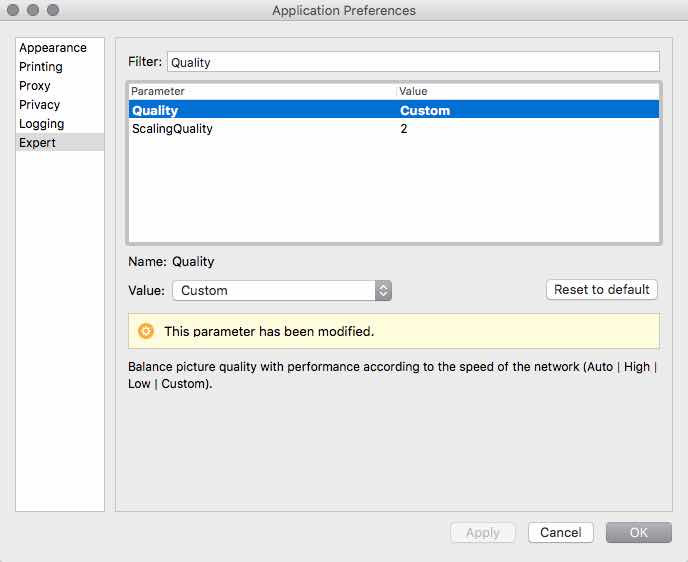
Search Quality and set to custom.
Apply changes and close. These settings will now be used for all connections made and saved on this computer.
Those are basic parameters I always change. You may want to change other things such as default scaling in that menu.
Now simply connect to do the device. Enter its IP address from above into the search bar and click enter (e.g. device 19 has IP ending in 19).
Enter the password and check remember password.
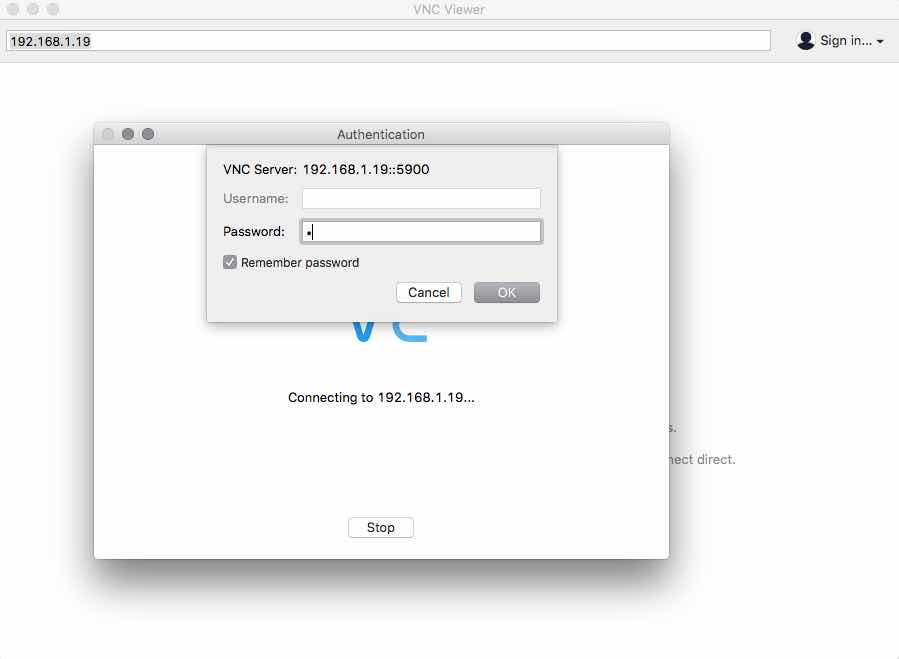
You are now connected!
At this point, rename the connection. Close out and find it in the address book.
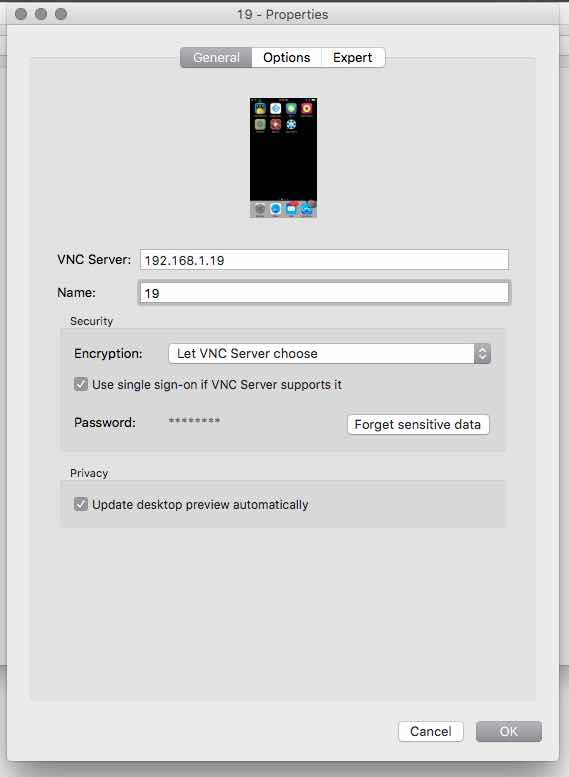
Click on it and click Cmd+I to pull up properties (or right/two finger click).
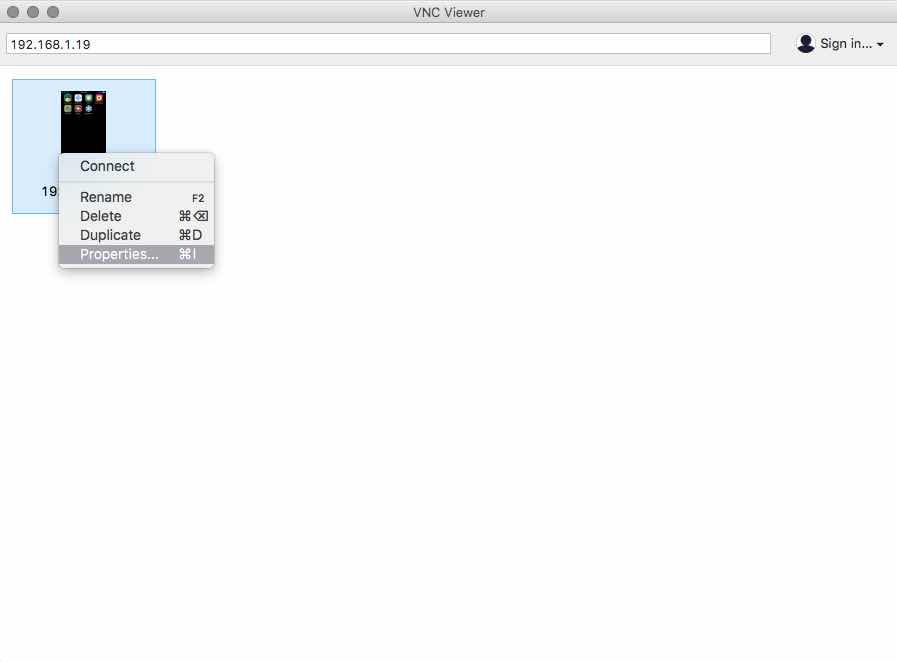
Put in a friendly name below the IP address (e.g. 19 for device #19).
I usually name mine according to my cash device naming system.
I also export my connections. Click file in the toolbar, export connections. This exports everything so if you have more devices, you might as well set those up first.
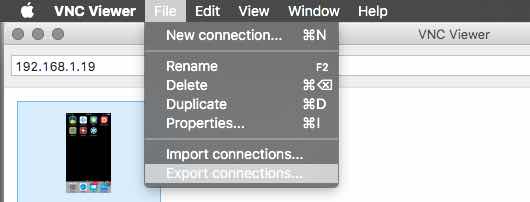
I recommend exporting these VNC files to a Dropbox or Google Drive folder so you can use them on other computers.
Controlling from Outside Your Network
In order to control this device from outside the network, I recommend setting up a VPN on your router. You can then use the same IP address you used above to connect to the machine as long as you are connected to your router via the VPN on the device controlling.
I will have an example soon on how I set up a VPN with my router, but how you can set up a VPN on your router depends on your model. Every UI is different. You will have to research your model for how to set up a VPN on it.
